

London 2011. Uff, that was such a long time ago! I absolutely loved being in London even if it was only for a short period of time before I headed to another city where I was to live with an amazing family for the course of about 4 months. It's crazy to even think that I actually did this when I was only 16!

If there was ever a reason to go back to this country (which there are many!) the main one would be because of the food. And when I say food I'm not talking about the fish and chips, I'm talking about the candy and snacks! Here in the US you can't find any of these snacks unless you want to spend a ton of money online for them (which I've actually done!). Some of my favorite English snacks are as follows:
- Monster Munch Roast Beef Crisps - I know, it sounds absolutely disgusting. But I actually really like these! The one flavor though that you have to watch out for is the Roast Chicken Crisps (these aren't very pleasant, to me anyways).
- Prawn Cocktail Crisps - Yup, another odd flavor, but this one is also pretty freaking amazing!
- Salt & Vinegar Hula Hoops - These are another favorite of mine! I like these cause they are round rings that I sometimes like to put on my fingers while I eat them.
- Happy Hippo Biscuit - This is one of my favorite little cookie treats. It's a crisp cookie with a cream filling, and the best part of this sweet treat is... It's shaped like a freaking hippo!!
- Haribo Super Mix - These sweet little gummies are so good. It's sad that Haribo is sold in the US, but I haven't been able to find the same ones they had overseas.
- Penguin Biscuits - No, sorry, these aren't shaped like penguins, but they are really addicting. You can't have just one, you have to have the whole pack and then go buy more. These are like crack. It's a chocolate cookie with a creamy chocolate icing, covered in a chocolate shell. Trust me, you so totally want to go there.
I say go ahead, be a little adventurous and try one of these British snacks if you're ever in the England area (better yet click on one of the links and buy it via Amazon or Food Ireland). Just stop into one of the local grocery stores and grab everything in sight! That's what I did, and I'm not ashamed of admitting it.

So now you're probably wondering why I'm going on and on about these snacks. Well today I'm showing you the homemade version of the Happy Hippo Biscuit. It's not the same as the actual British biscuit, but it's definitely a delicious treat none the less. Now when it comes to making these hippo treats it can be quite a process, but it's also super easy! I even took the time to create a template for you guys to print off so it's a little easier to tackle.

P.S. now when you pipe these suckers out they will look like a little something something other than what you know what they are supposed to be. Not only did I notice this, but my sister pointed it out to me as well. And what I always say, "I don't have a dirty mind, I have a sexy imagination". So be careful for those watchful eyes and the questioning glances before the people actually see the finished product! ;)
Pate a Choux (via Fifteen Spatulas)
Makes about 3 dozen puffs
1 cup water
1 stick unsalted butter
Pinch of salt
1 cup flour
4 eggs (or 5)
Template
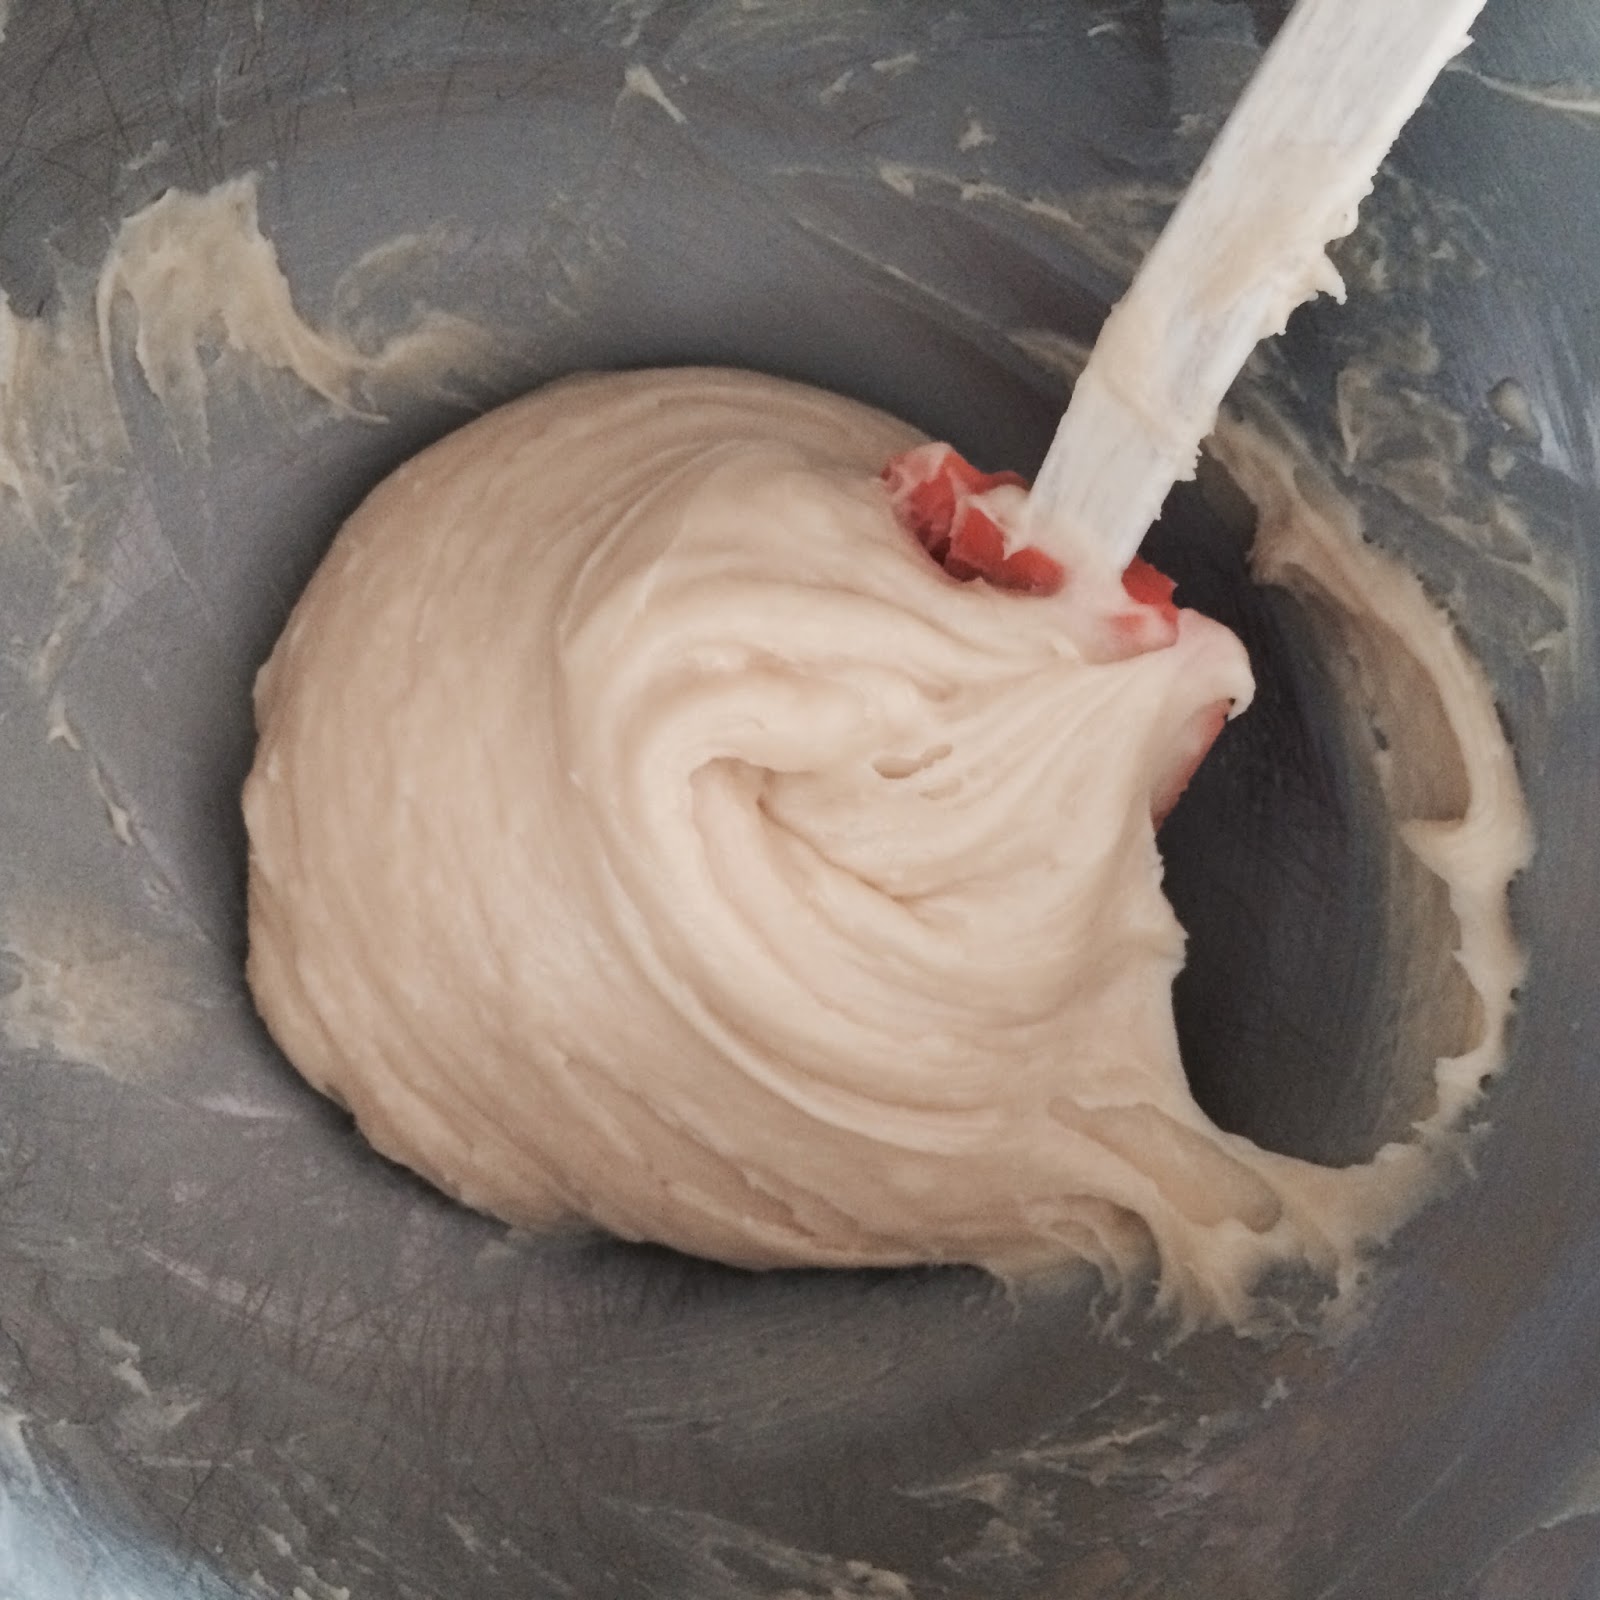
Preheat oven to 400*F. Place water, butter, and salt in a saucepan over medium-high heat, stir until the butter melts and comes to a boil. Reduce heat and add flour while stirring quickly. Continue to stir and cook off the moisture in the dough until it pulls away from the sides and starts to form into a ball and a "cracker" forms on the bottom of the pot. This should take about a minute. Place dough into the bowl of a stand mixer or a large bowl if using a hand mixer. Allow to cool for about 5 minutes. With the mixer on medium-low speed, add eggs in one at a time. Do not add another egg until the one before has been completely absorbed into the batter. The batter will look smooth and glossy when ready. (Alternatively, you can mix in the eggs by hand. This just takes a bit longer. Mix each egg until completely absorbed before adding the next). Put dough into a piping bag fitted with a small round tip (size 10). Line a sheet pan with parchment paper, put the template underneath and pipe out each shape. When done piping, remove the template. Take a small bowl of water and dip your finger in it and pat down the spikes of dough so they are flat. Bake for about 20 minutes until the puffs are golden brown. Poke a small hole in each puff with a knife to prevent them from getting soggy.
|
|
|
|


|
|
|
|


Filling (via Cookies and Cups)
1 bag chocolate chips (any kind you want, white, dark, milk, butterscotch, etc..)
4 sticks unsalted butter
Put all ingredients into a pot and over medium-high heat. Stir until everything is completely melted. Take off the heat and let cool off for at least 15 minutes. Put into a heat safe bowl or plastic container and put in the fridge for at least 3 hours or overnight (if you're really in a time crunch then toss it in the freezer for at least an hour or until it's cold and firm). Break it up a bit and then put into a bowl of an electric mixer and beat for at least 3 minutes, or until light and fluffy. Put into a piping bag fitted with a small round tip or a filling tip.
NOTE: When I made this filling not all of the chocolate completely melted, so my piping tip kept getting clogged (which is annoying on so many levels). So if you are wanting to try making it a different way try putting the room-temp butter in the mixer bowl, melt the chocolate in a microwave safe bowl until it's completely melted and then add it to the butter and mix. If you try it this way, let me know if it works!
Assembly
Chocolate chips (any kind you want)
Chocolate shavings, toasted shredded coconut, sprinkles, etc..
Black edible ink marker

- Fill the puffs with the filling. Generally with each little round part that's apart of the puff will need a separate poke to fill.

2. Melt the chocolate chips and carefully dip the bottoms of each puff into it. Be careful as the puffs can break/rip easily. Once the bottoms are covered in melted chocolate, dip into the "topping" you have chosen. In my case it's dark chocolate shavings.


3. Set on some wax paper until the chocolate has dried.

4. With the black edible marker add on some eyes on the middle round, nostrils on the two smaller rounds, and a tail on the round "bottom".

Now you have a homemade, cookie-less Happy Hippo "Biscuit". It's not only super cute but it's also creamy, soft, and all kinds of deliciousness!

NOTE: Make the filling first! I'd make the filling at least a day in advance before the puffs.
NOTE:Make the puffs on the day of eating, as they are best eaten the day they are made. You can still eat them the day after but they won't be as good and will be a little soggy.
NOTE: If you decide to use chocolate shavings like I did, put the bar of chocolate in the freezer a day or two before you make the puffs so it's nice and cold and easier to grate. Grate the chocolate over a sheet pan lined with wax paper, and don't touch the shavings with your hands so much, otherwise you'll completely melt it with the warmth of your hands. Place the chocolate shavings in the freezer when you are done making them so they are nice and firm for dipping.
NOTE: I created a template that you can print out if you would like to make them into the hippo shape. You don't have to make it into the shape of a hippo if you don't want to, you can use whatever tip you like and create your own shaped puff! Just have fun with it.
(The pictures of London are my own personal pictures. If you would like to copy please contact me, it's much appreciated.)
No comments:
Post a Comment